When designing premade templates, graphic sets, and custom listings on Niteflirt, buttons are automatically included. You can also find standalone button sets designed to link directly to NiteFlirt Payment Mail. However, some flirts may experience confusion regarding their creation and optimal usage. Among the five types of Niteflirt Payment Mail available, I’ll specifically address Payment Request Mail, Pay-to-View Mail, and Tribute Mail.
Important FYI: You’ll need to have at least one listing set up before you can create any Payment Request or Pay-to-View Mails.
Another important FYI: Amounts for paid mail can be between $0.10 and $999.00.
To decide which button you should use, think about your product offering and use these suggestions:
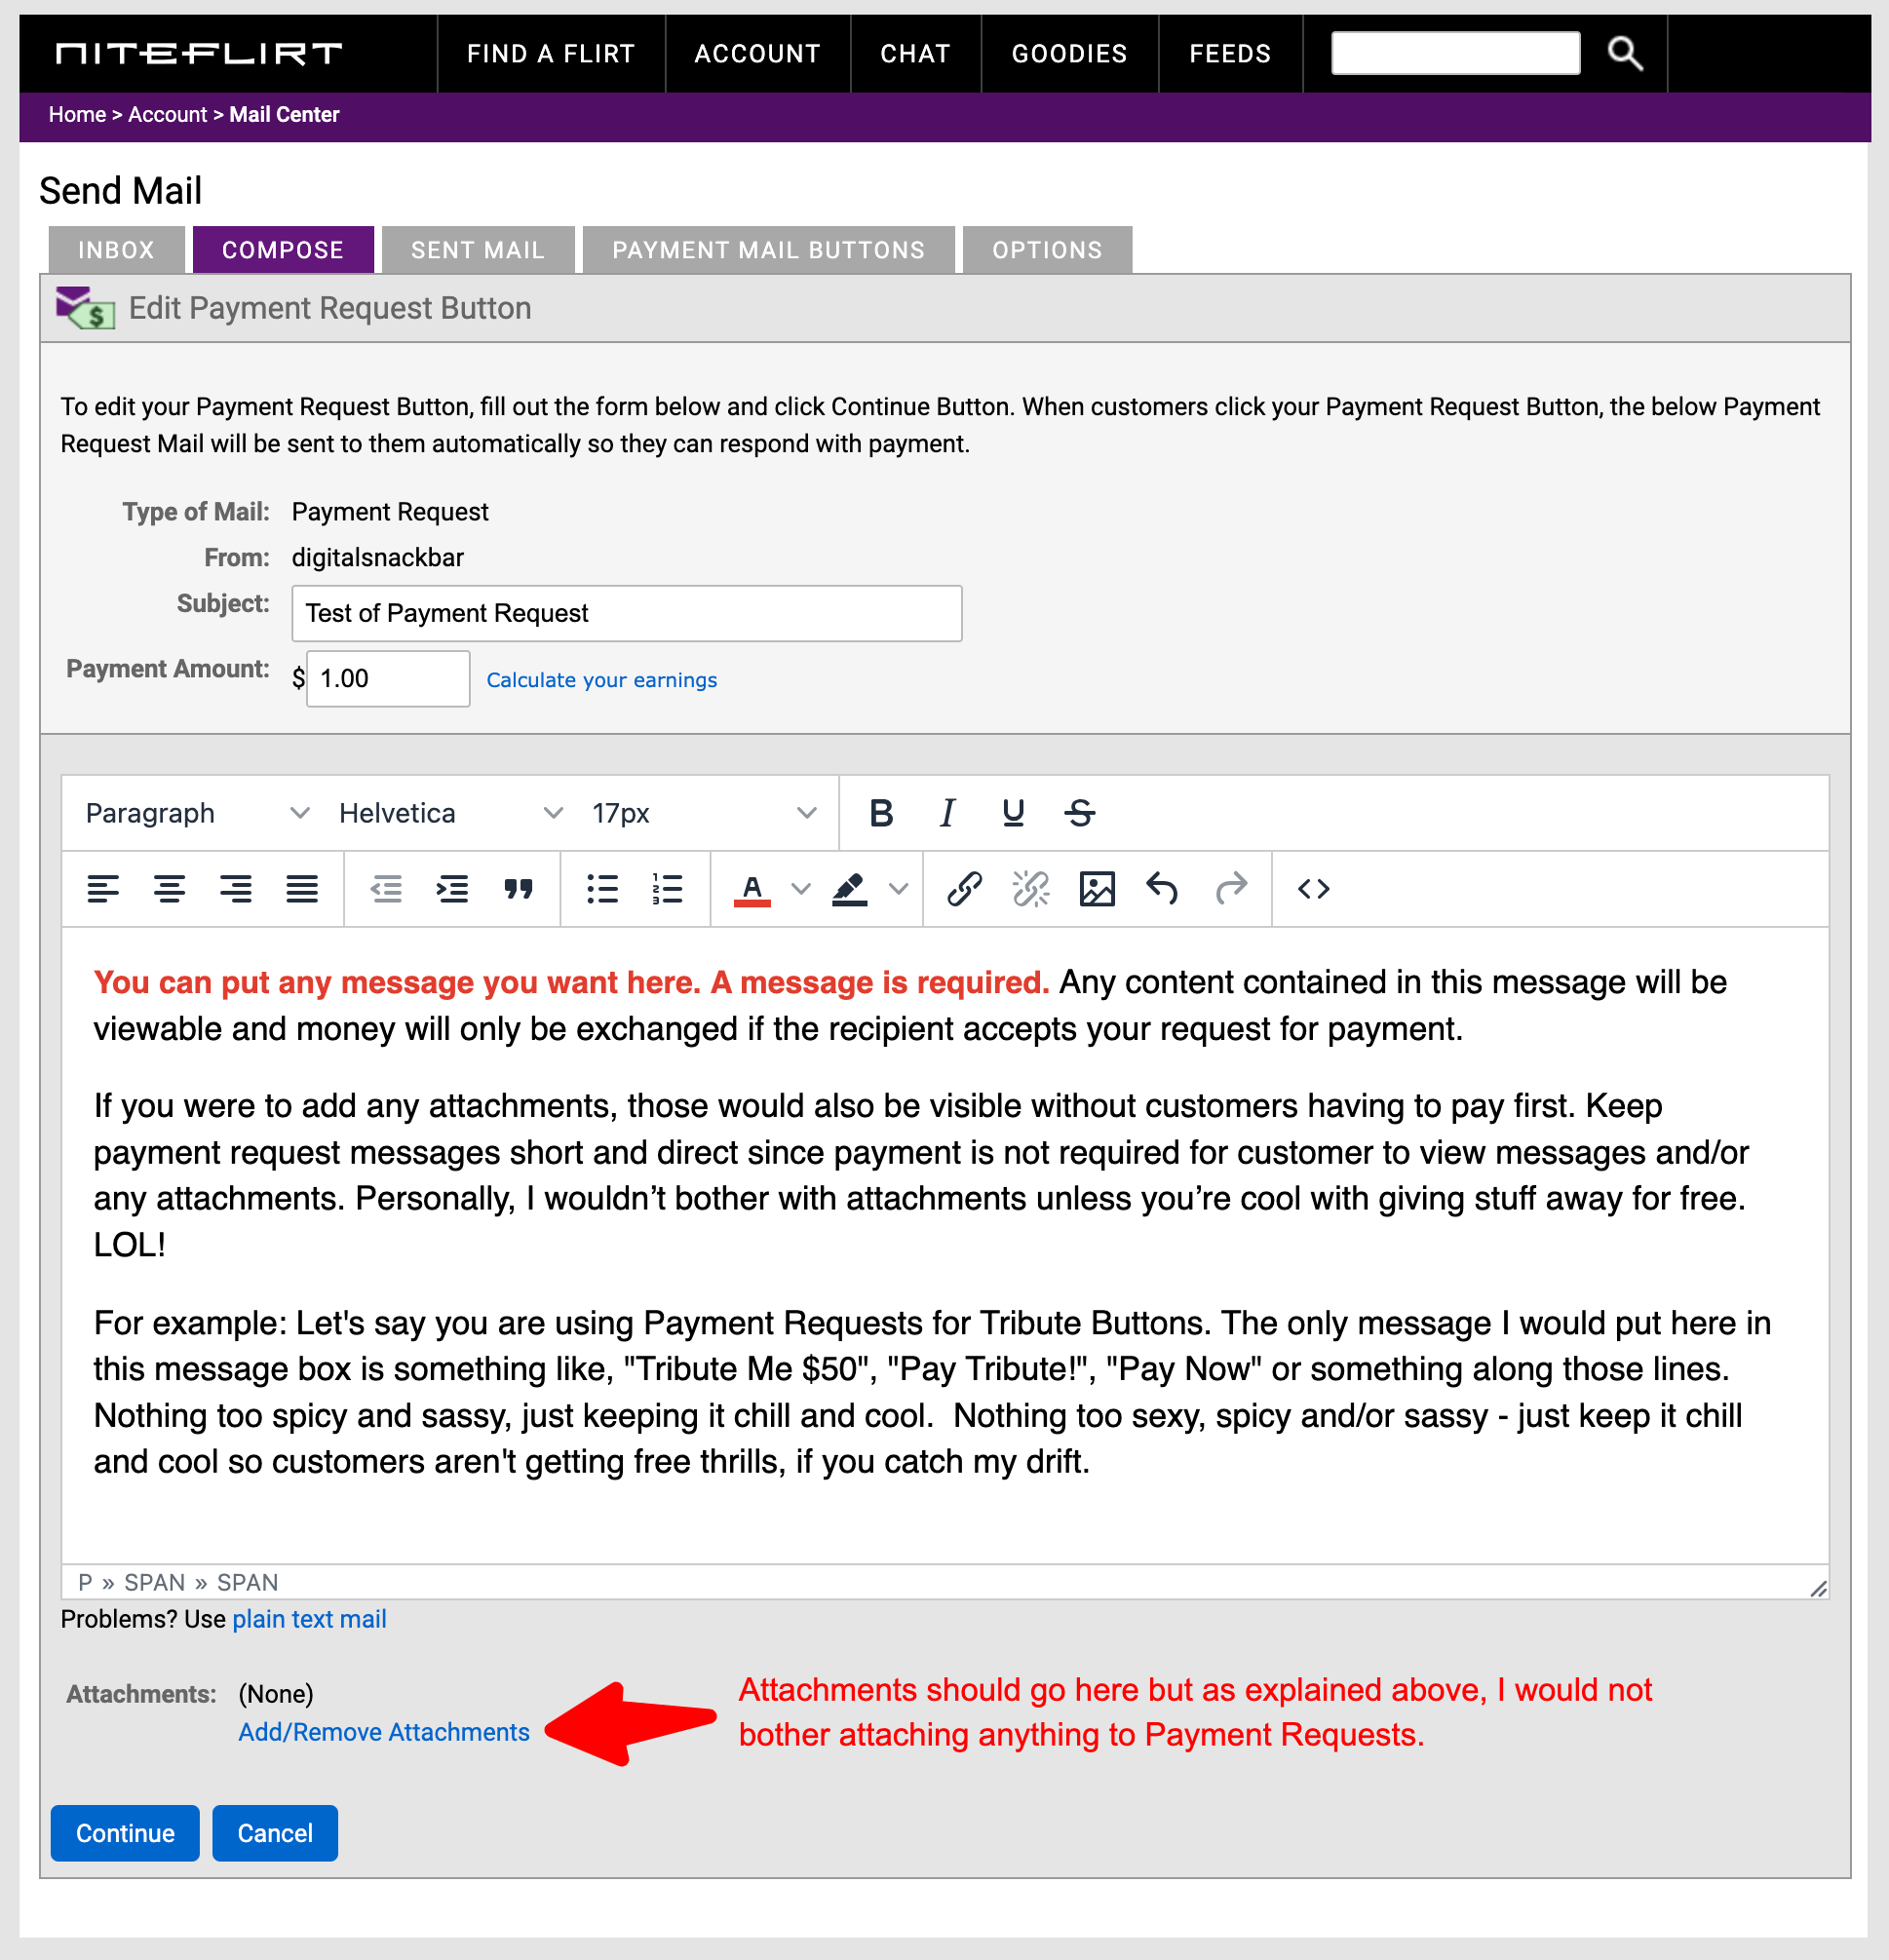
Payment Request mail is just that — a request for payment. The recipients do not have to purchase the mail in order to see the contents or attachments. A Payment Request mail button is perfect for soliciting Tributes or for taking orders for pre-paid or customized services where you need information from a customer in order to complete your product. Make sure to specify what you need from the customer in the body of the mail.
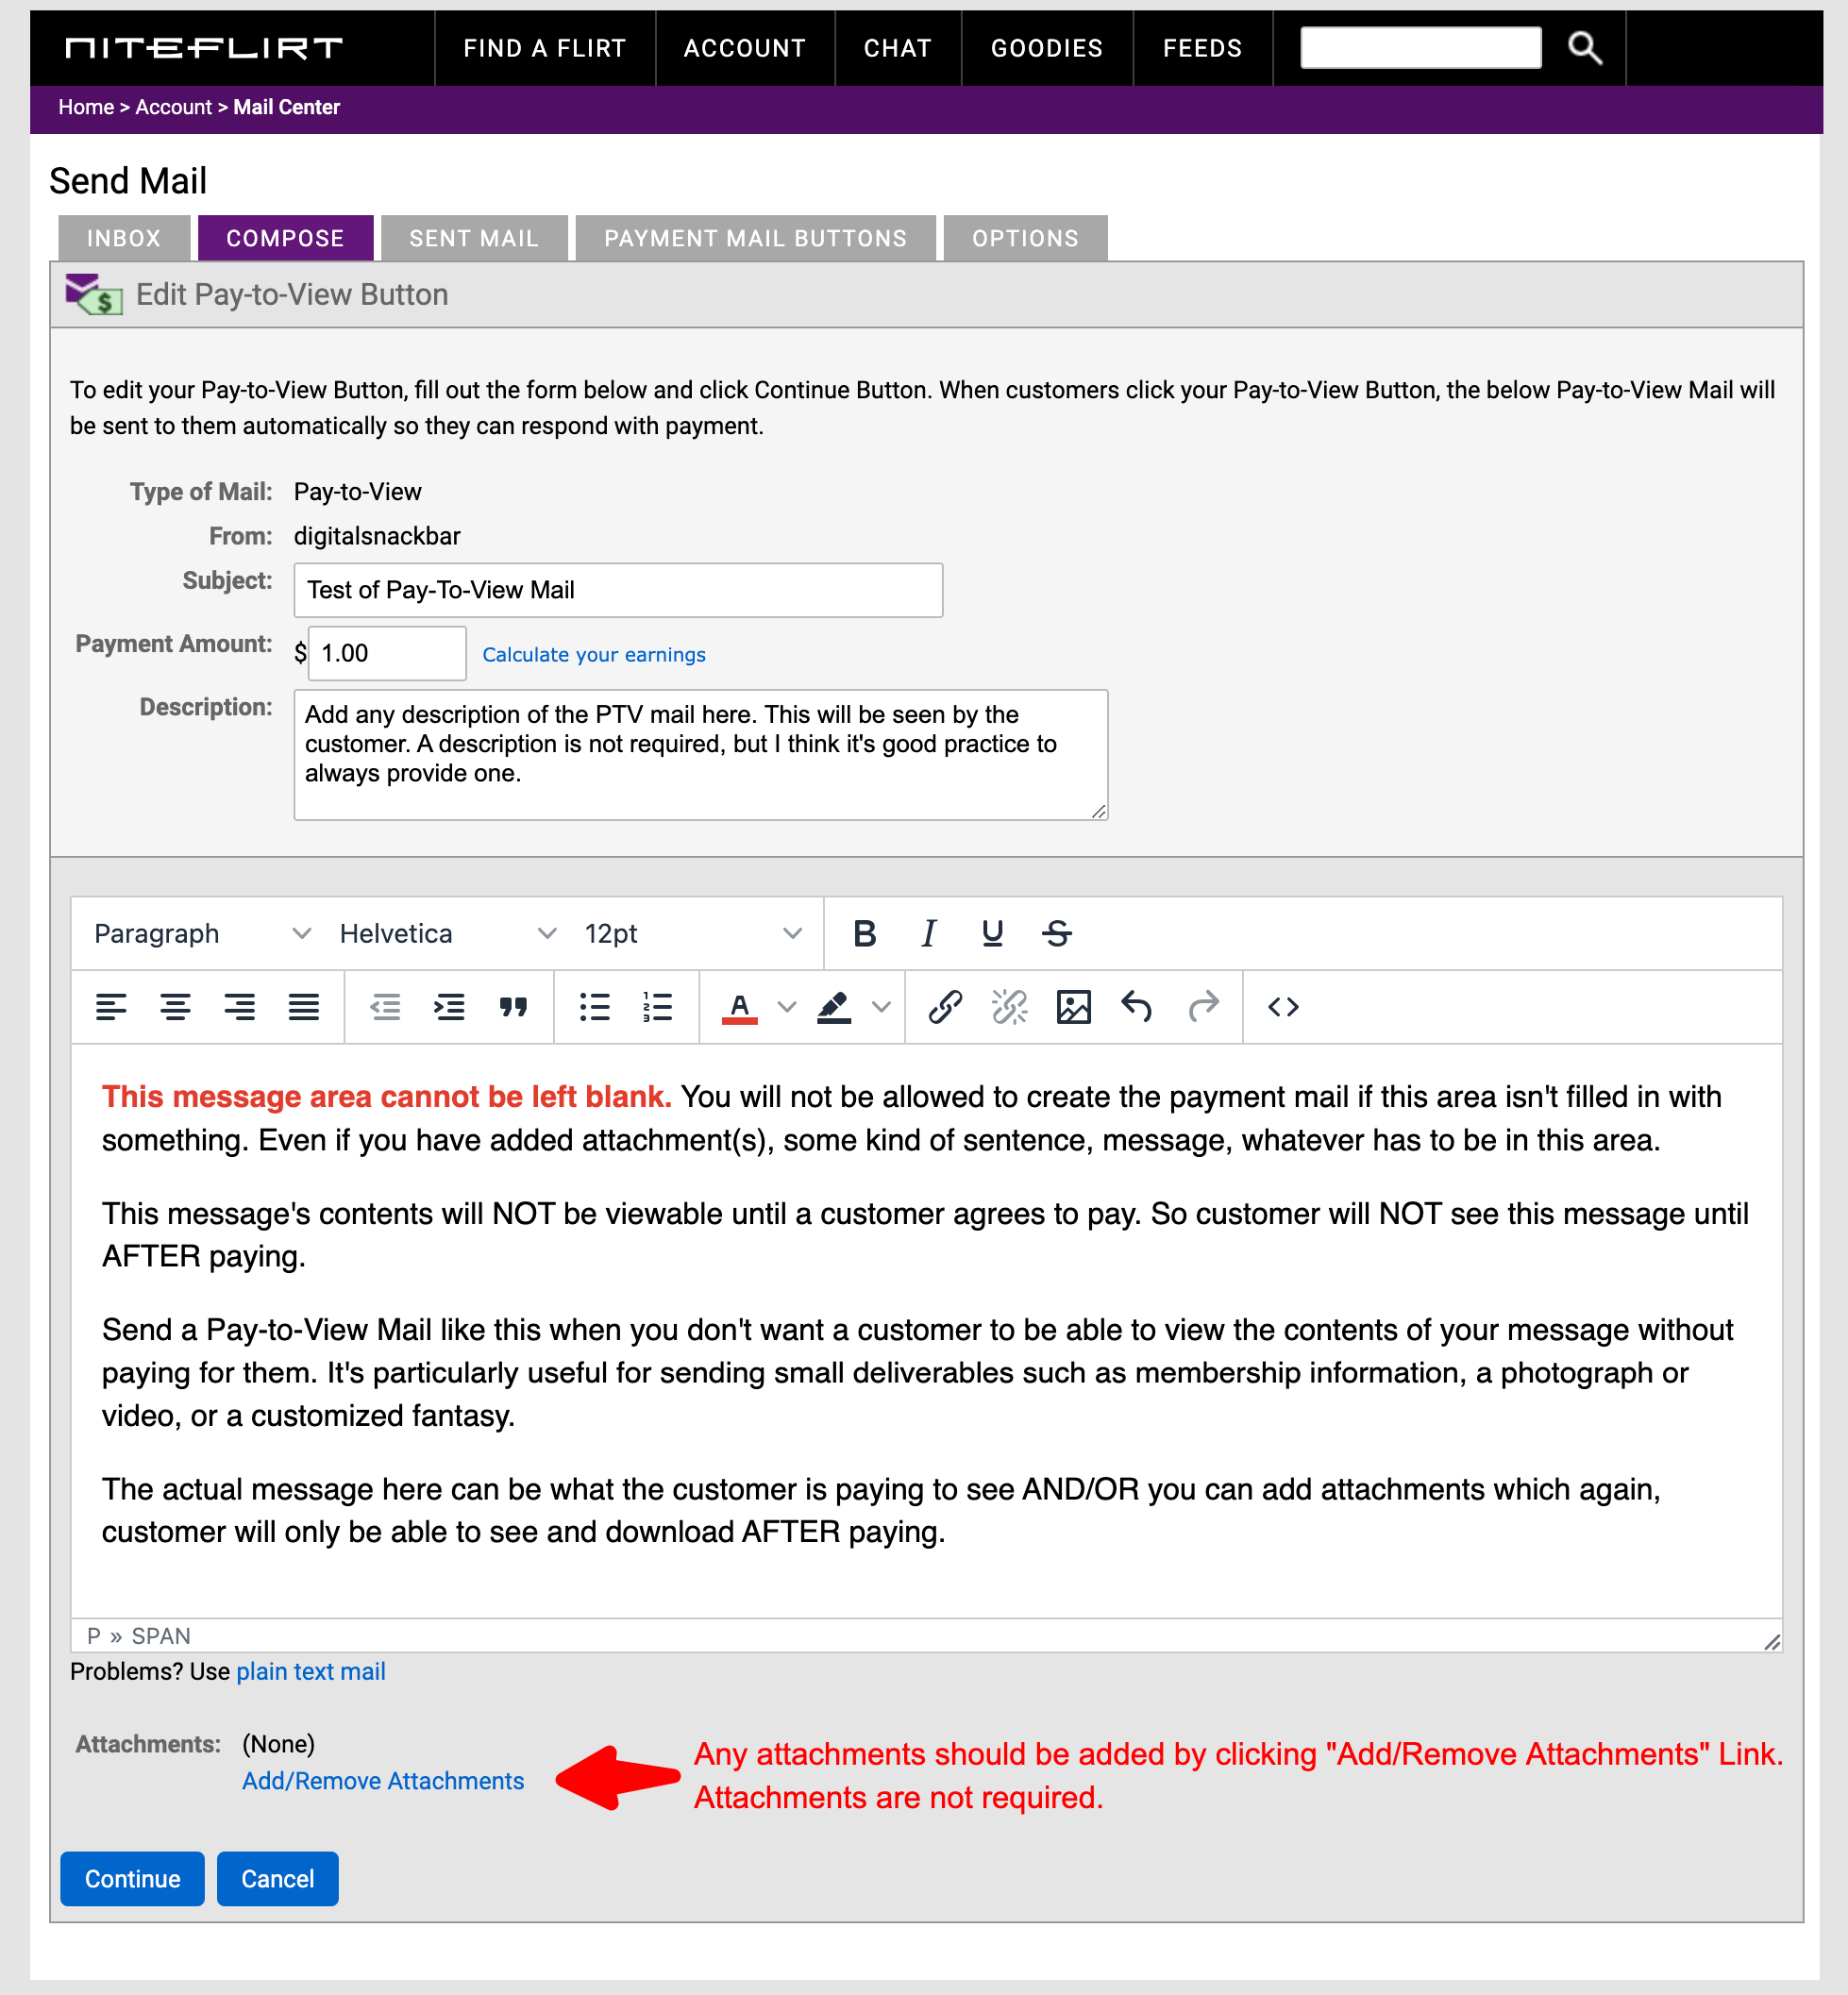
Pay-to-View mail must be purchased by the recipients before they can see the contents or attachments. A Pay-to-View mail button is perfect for selling “as-is” content to a large audience such as membership information, written fantasies, pictures, or videos.
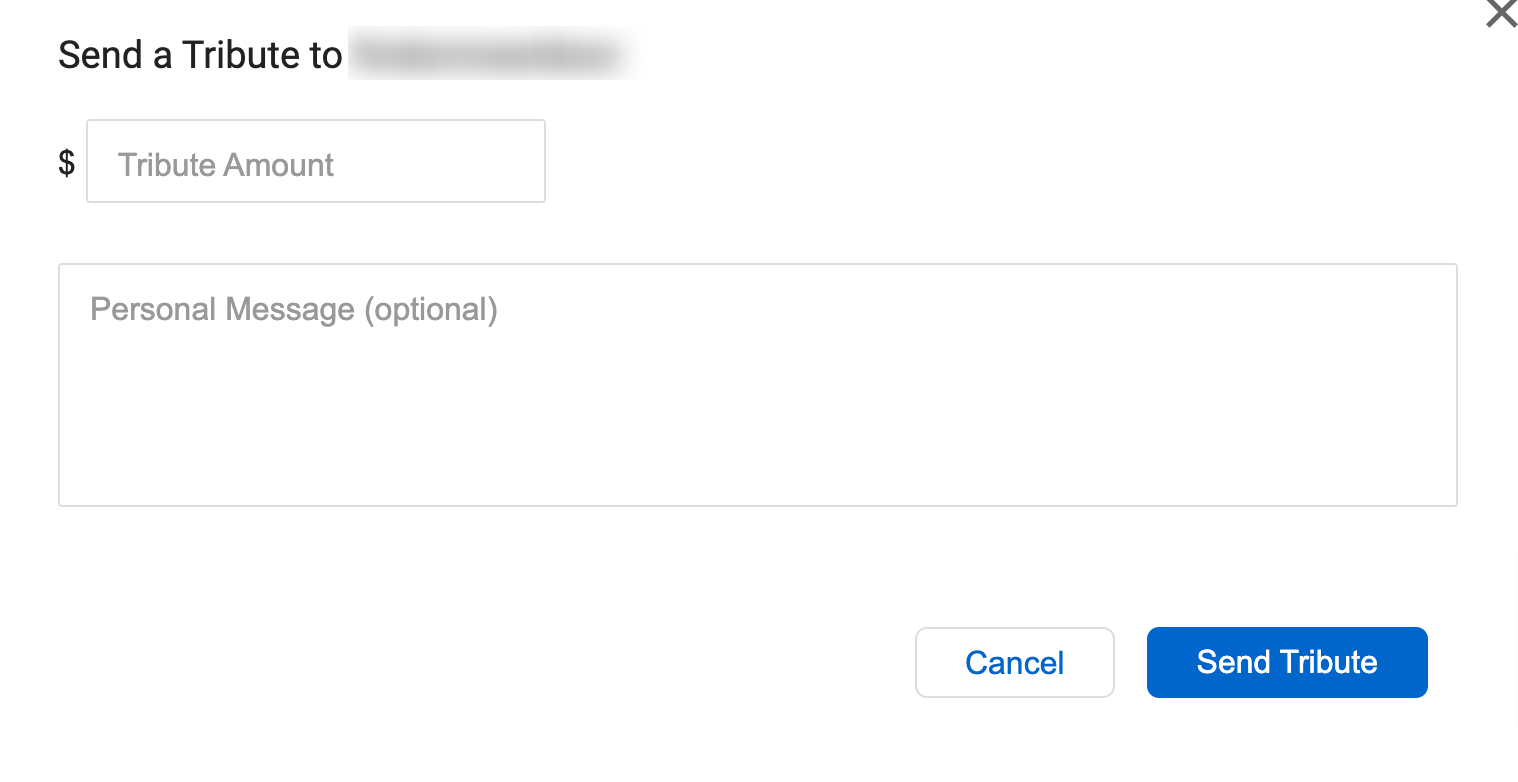
Now for Tribute Mail. I personally feel this type of mail isn’t used enough, especially when soliciting tributes. Tribute Mail allows customers to send a Tribute (like a cash gift) to a Flirt along with a message. What I particularly appreciate about Tribute Mail is its versatility; customers have the freedom to send any amount they desire. For instance, if you prefer to utilize a standalone tribute button without specifying an exact amount, you can utilize the “Pay A Tribute” link found in the left sidebar of your NF main profile and listing pages. Copy and paste the URL of the “Pay A Tribute” link and use it for any standalone button, allowing customers to select and send their preferred amount.
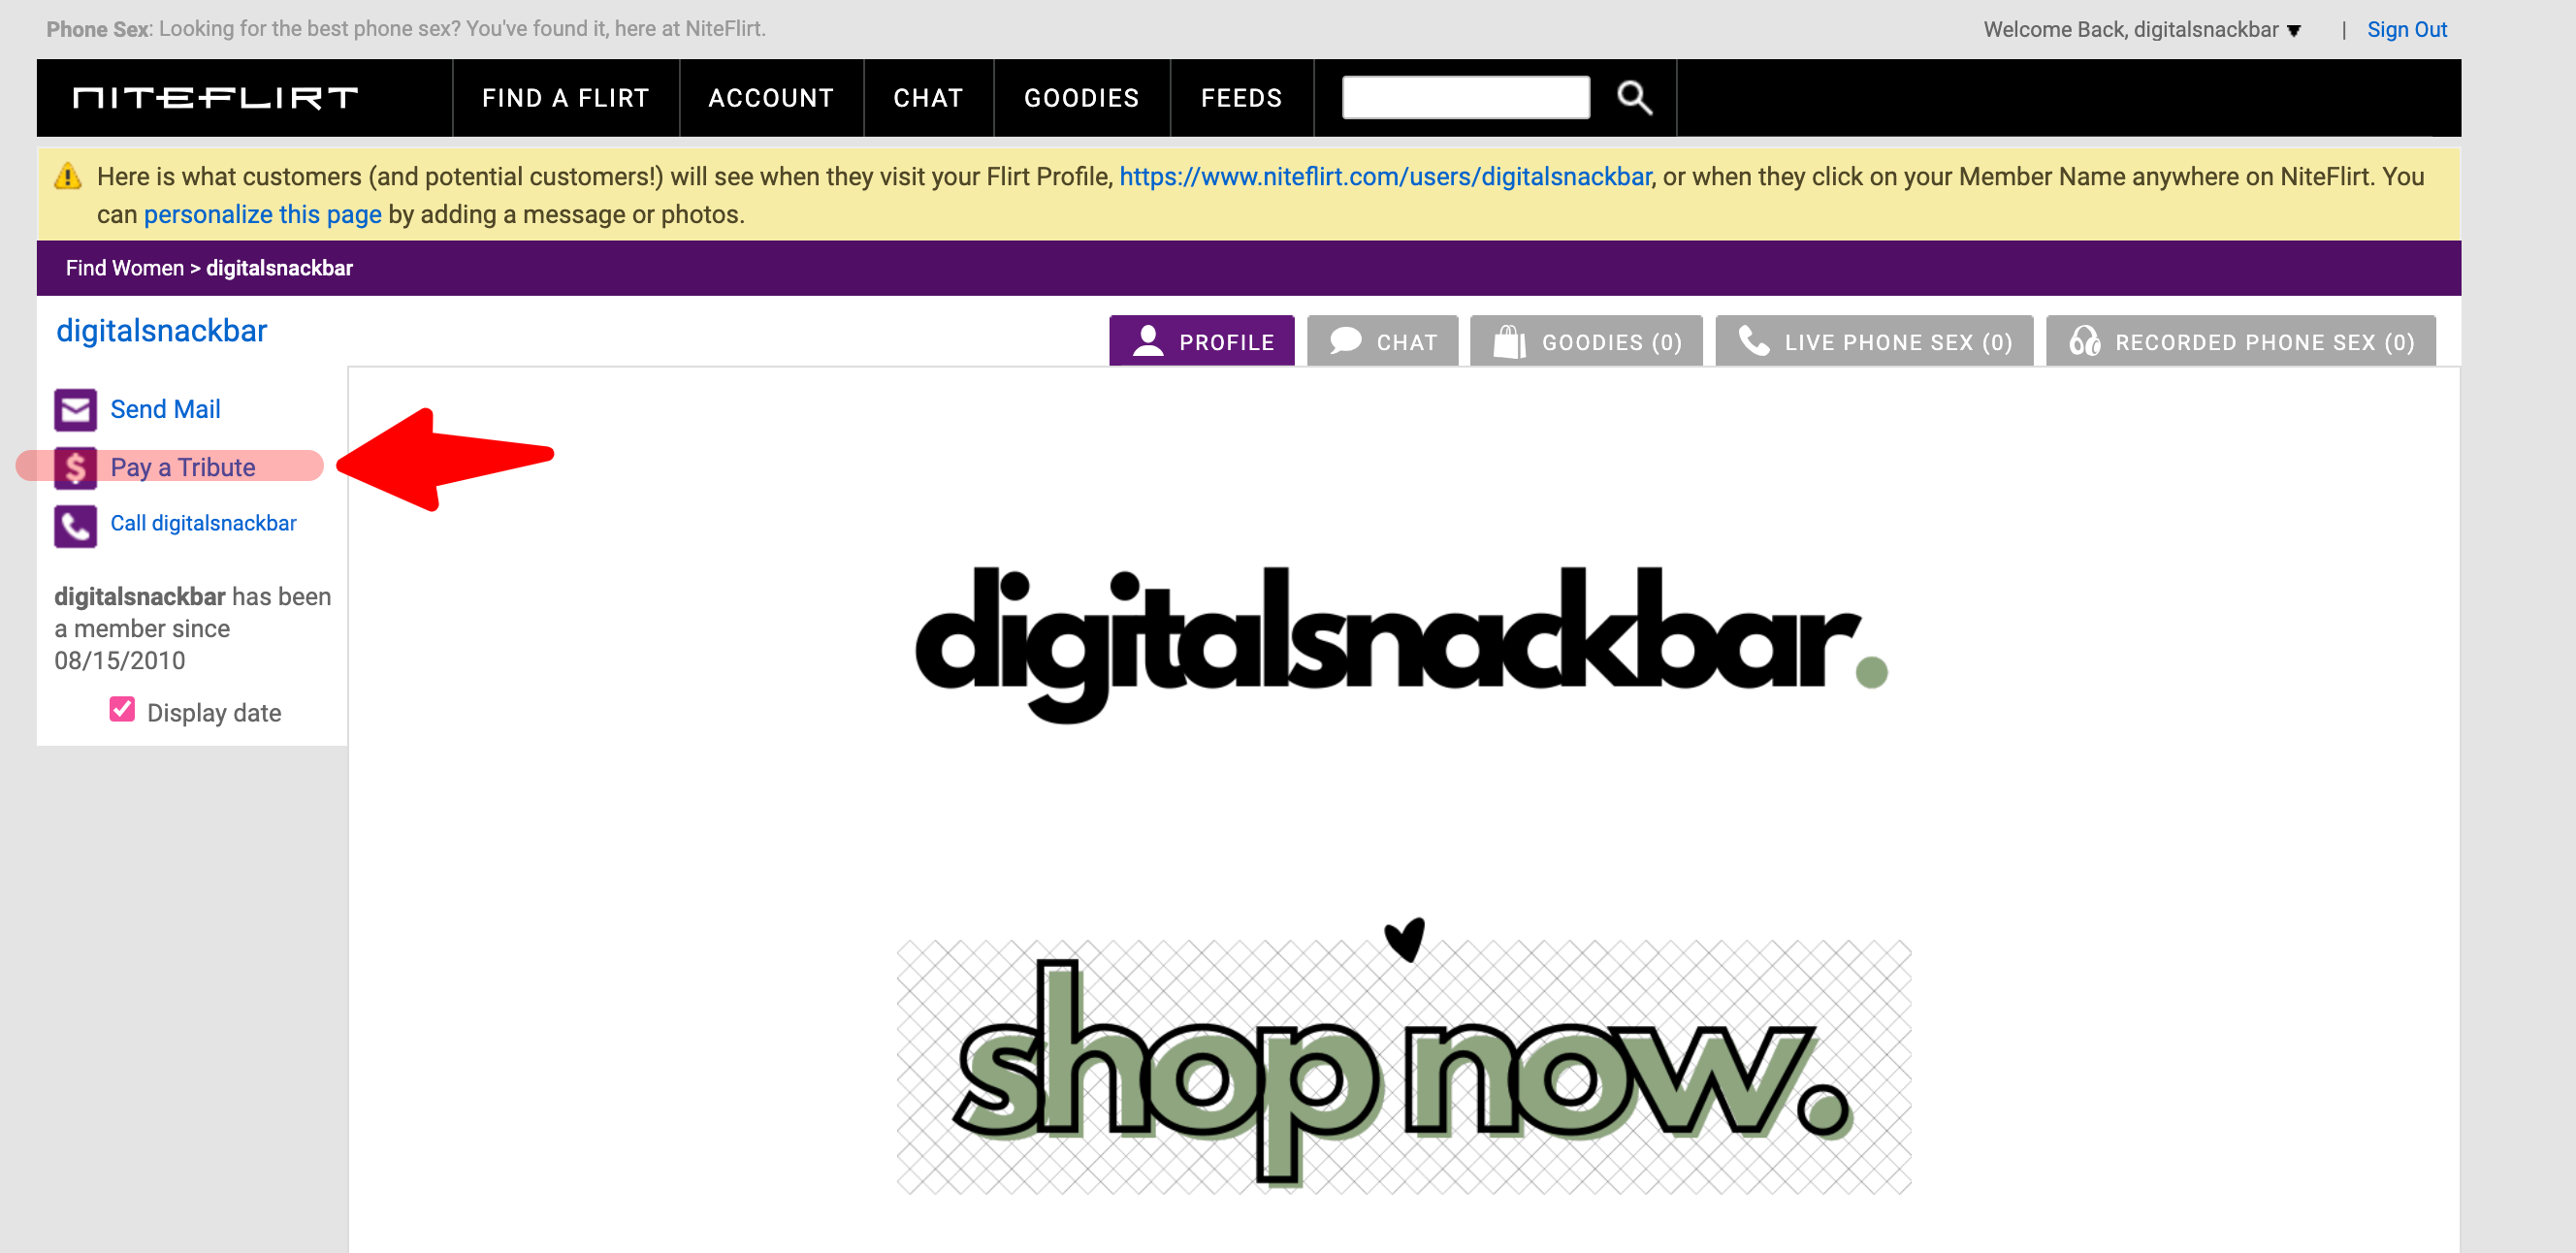
This is how it will appear from the customer’s perspective.
I really hope this info proves super handy for you, and wrapping your head around creating those payment mail buttons will be a piece of cake!
